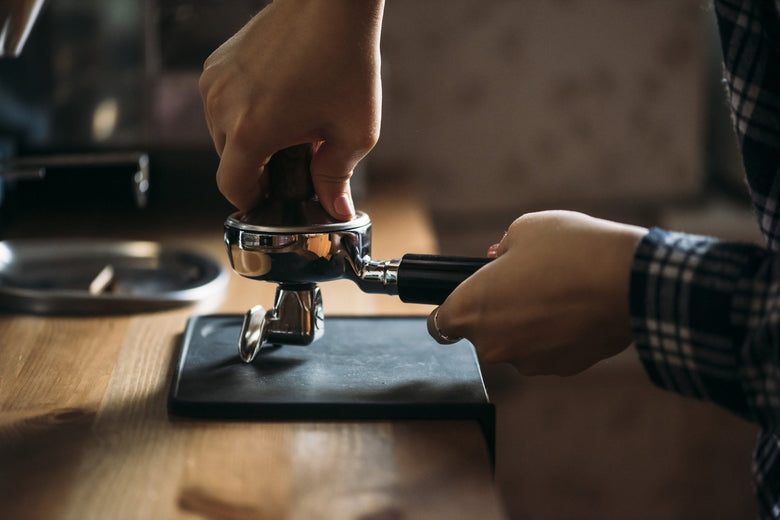
As you know, espresso is complex, fascinating, and sometimes frustrating. There are lots of variables to control and a small change to one can impact all the rest. We’re going to talk about one of these variables that often gets newcomers into trouble: tamping.
In this mini-guide, I’ll show you…
- The right way to tamp your coffee
- Tricks for improving tamp consistency
- How to tamp ergonomically to avoid wrist injury
Once you get the tamp down, you won’t really have to worry about it throwing off your espresso. Then you can just focus on the coffee itself and not this technique.
Why Do We Even Need To Tamp?
Tamping sometimes feels like an unnecessary process. I mean, we don’t compact our grounds with any other brewing method, right?
Read: The Ultimate Guide to Espresso
But here’s why espresso’s different:
- We’re working with an incredible amount of pressure in the portafilter
- With loose grounds, the water would just rush through one area
- And this would lead to imbalanced espresso that’s both extra bitter and sour
By tamping the grounds, you create a level, compressed puck that the water will flow through evenly since there’s no single path of least resistance (which is inevitable without tamping). The result? Better and more balanced shots.
How To Tamp Espresso Shots
Tamping is a balancing act between three variables. They take some practice to really get a feel for, but once you have it down, it’s pretty easy to be consistent.
- Grounds Distribution — Before you even pick up your tamp, you want to make sure the grounds are fairly evenly distributed in the portafilter. Tamping on top of poorly distributed grounds creates a puck that’s unevenly dense.
- Level Tamping — Your tamp must be absolutely level when you press down, otherwise the water will flow to the lower portion of the puck, create a channel, and not pull a balanced shot.
- Pressure Amount — Most official guides suggest 30 pounds of pressure, but as long as you’re using 10+, you’ll be okay. The most important part isn’t any exact pressure, but consistency with reaching that same pressure every time.
Read: Having Trouble Brewing Delicious Espresso? Here Are 5 Things To Try
Tamping, Step-By-Step
Start by grinding your coffee into your portafilter. Depending on your grinder, it may be easier to grind into a dosing cup (just any small cup) and then pour the grounds carefully into the portafilter. The idea is that you want those grounds to be as evenly distributed in the portafilter as possible.
If needed, use your finger to swipe twice across the surface of the portafilter in an ‘X’ shape (go all the way across the portafilter before you stop). This helps distribution as well.
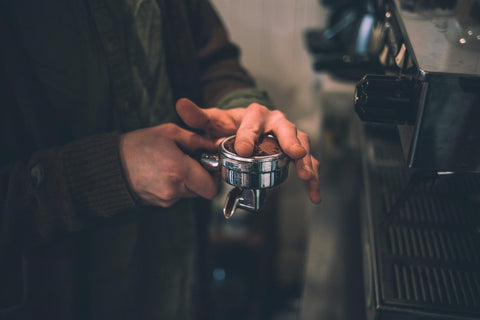
Quick Trick: Tap the portafilter against the tamping mat once or twice to cause the grounds to shift and re-distribute more evenly. For this to work, the portafilter basket must be completely level against the counter when you tap.
Now grab your tamp and lightly set it on the coffee grounds. Using the side of your pointer finger and the tip of your thumb, feel the tamp edges against the edges of the portafilter. You should get a sense about whether the tamp’s level or not. Adjust as needed.
Read: Tasting Espresso Extraction Stages: The Salami Technique
When you’re confident the tamp’s even, raise your elbow high (like 90-degree angle high) and use your upper arm to press down and apply 10-30 pounds of pressure. You shouldn’t be pressing down with the palm of your hand, but rather your fingers.
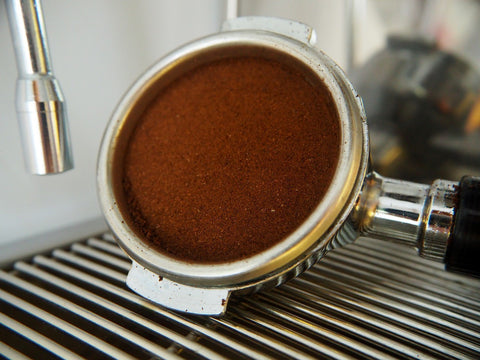
Now give the tamp a quick, light spin. If you feel resistance between the tamp and portafilter, you probably didn’t apply pressure evenly. If it spins smoothly, you’re good!
Now pull your shot.
If you have a naked portafilter, you should easily be able to see if your tamp was not level if the color of the brewing espresso isn’t the same everywhere (streaks of light espresso means that area’s more extracted). If you have a regular double-spouted portafilter, you may be able to tell if one spout has lighter colored espresso than the other.
This process takes time to get down, so be patient and don’t get down if you can’t seem to get it right. The key is to pay attention to the tamp, be mindful of the results, and try to adjust as needed. You’ll get it.
Read: Single VS Double Espresso Shots: What's The Difference?
Safe Tamping: Dos And Don’ts
Baristas tend to have wrist problems from repetitive tasks and muscle overwork. You probably don’t need to worry about this (unless you’re pulling 45 shots an hour for friends and family), but it’s always better to do things right—just in case. All it takes is one lazy and unlucky tamp to cause wrist strain and discomfort. Let’s just try to avoid that.
Let’s look at the ergonomics of this process so that tamping is comfortable, smooth, and safe for you at home.
- Do make a 90-degree angle at the elbow with your forearm and upper arm. This reduces strain on your elbow and wrist by creating a strong flow of weight that’s not putting more pressure on any one area over the other.
- Do keep your wrist straight at all times. Bend or twist your wrist and you’ll shock it with a bunch of pressure. You shouldn’t really feel much pressure around your wrist when you press down. It should feel natural, like an extension of your arm.
Read: The Easy Guide To Making Your Own Syrups For Coffee And Espresso Drinks
- Do turn your body 45-degrees so that you’re not facing the counter head-on. Move your left foot away from the bar slightly so that you’re facing the bar at an angle. This makes that 90-degree elbow angle much easier to achieve correctly.
- Don’t get lazy. Seriously, lazy tamps can lead to injury. And not to mention unlevel pucks and imbalanced flavor.
Let me show you an example of lazy tamping…
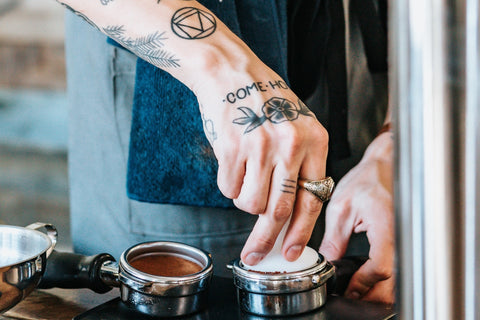
This barista’s wrist is strangely angled. That creates strain which could eventually lead to injury.
In the end, this is a technique like any other. You learn how it works. You practice it like crazy. And eventually, it becomes second nature.
---
A level, consistent tamp is essential to brewing a balanced shot. Without it, the water from the group head will find the lowest point and start digging in that single spot, rather than saturating all the grounds evenly. You must take this seriously.
However, it’s just one of many variables that make up a stellar shot. The very first? Your actual coffee beans.
Start with freshly roasted, specialty-grade beans or your espresso will be stunted in flavor and balance from the very beginning. Join our Coffee Club and we’ll send you stellar beans sourced from the world’s best coffee farms; then we’ll roast and ship them to you on the same day.
It’s the best way to get fresh specialty beans regularly that are great for black coffee and espresso. Check it out for yourself!
